Boot Raspberry Pi from SSD over USB 3.0
Many of you are already familiar with Raspberry Pi - a single-board computer that is a great gadget to play with if you want to get a deeper understanding of programming, network, and DevOps. Being originally released in February 2012, after 10 years of development it has become quite a powerful machine, capable of running heavy tasks such as Home Assistant, Retro-game emulation or even host a single-node Kubernetes cluster.
For me, the main concern about this microcomputer was its storage - SD cards are slow, unreliable, and prone to corrupting under high writes/reads. It is a great option when you need cheap storage which is not under a high load (for example, digital cameras or MP3 players), but for a server, you need something more robust.
Fortunately, the current latest version of Raspberry Pi has USB 3.0 ports and its bootloader now officially supports USB Boot so we can boot OS right from the USB drive or SSD over USB 3.0.
Choosing USB Storage
When I decided to make a USB-bootable Raspberry Pi I had some requirements in mind:
- Everything should be placed in a case - I didn’t want to have any dongle to connect to Pi for storage
- SSD instead of just USB flash drive
- It should have GPIO easy to access
- The case should be able to cool both Raspberry and SSD
After some research, I chose Argon One M.2 Case which I ordered from AliExpress with a 128Gb SSD and got in a week.
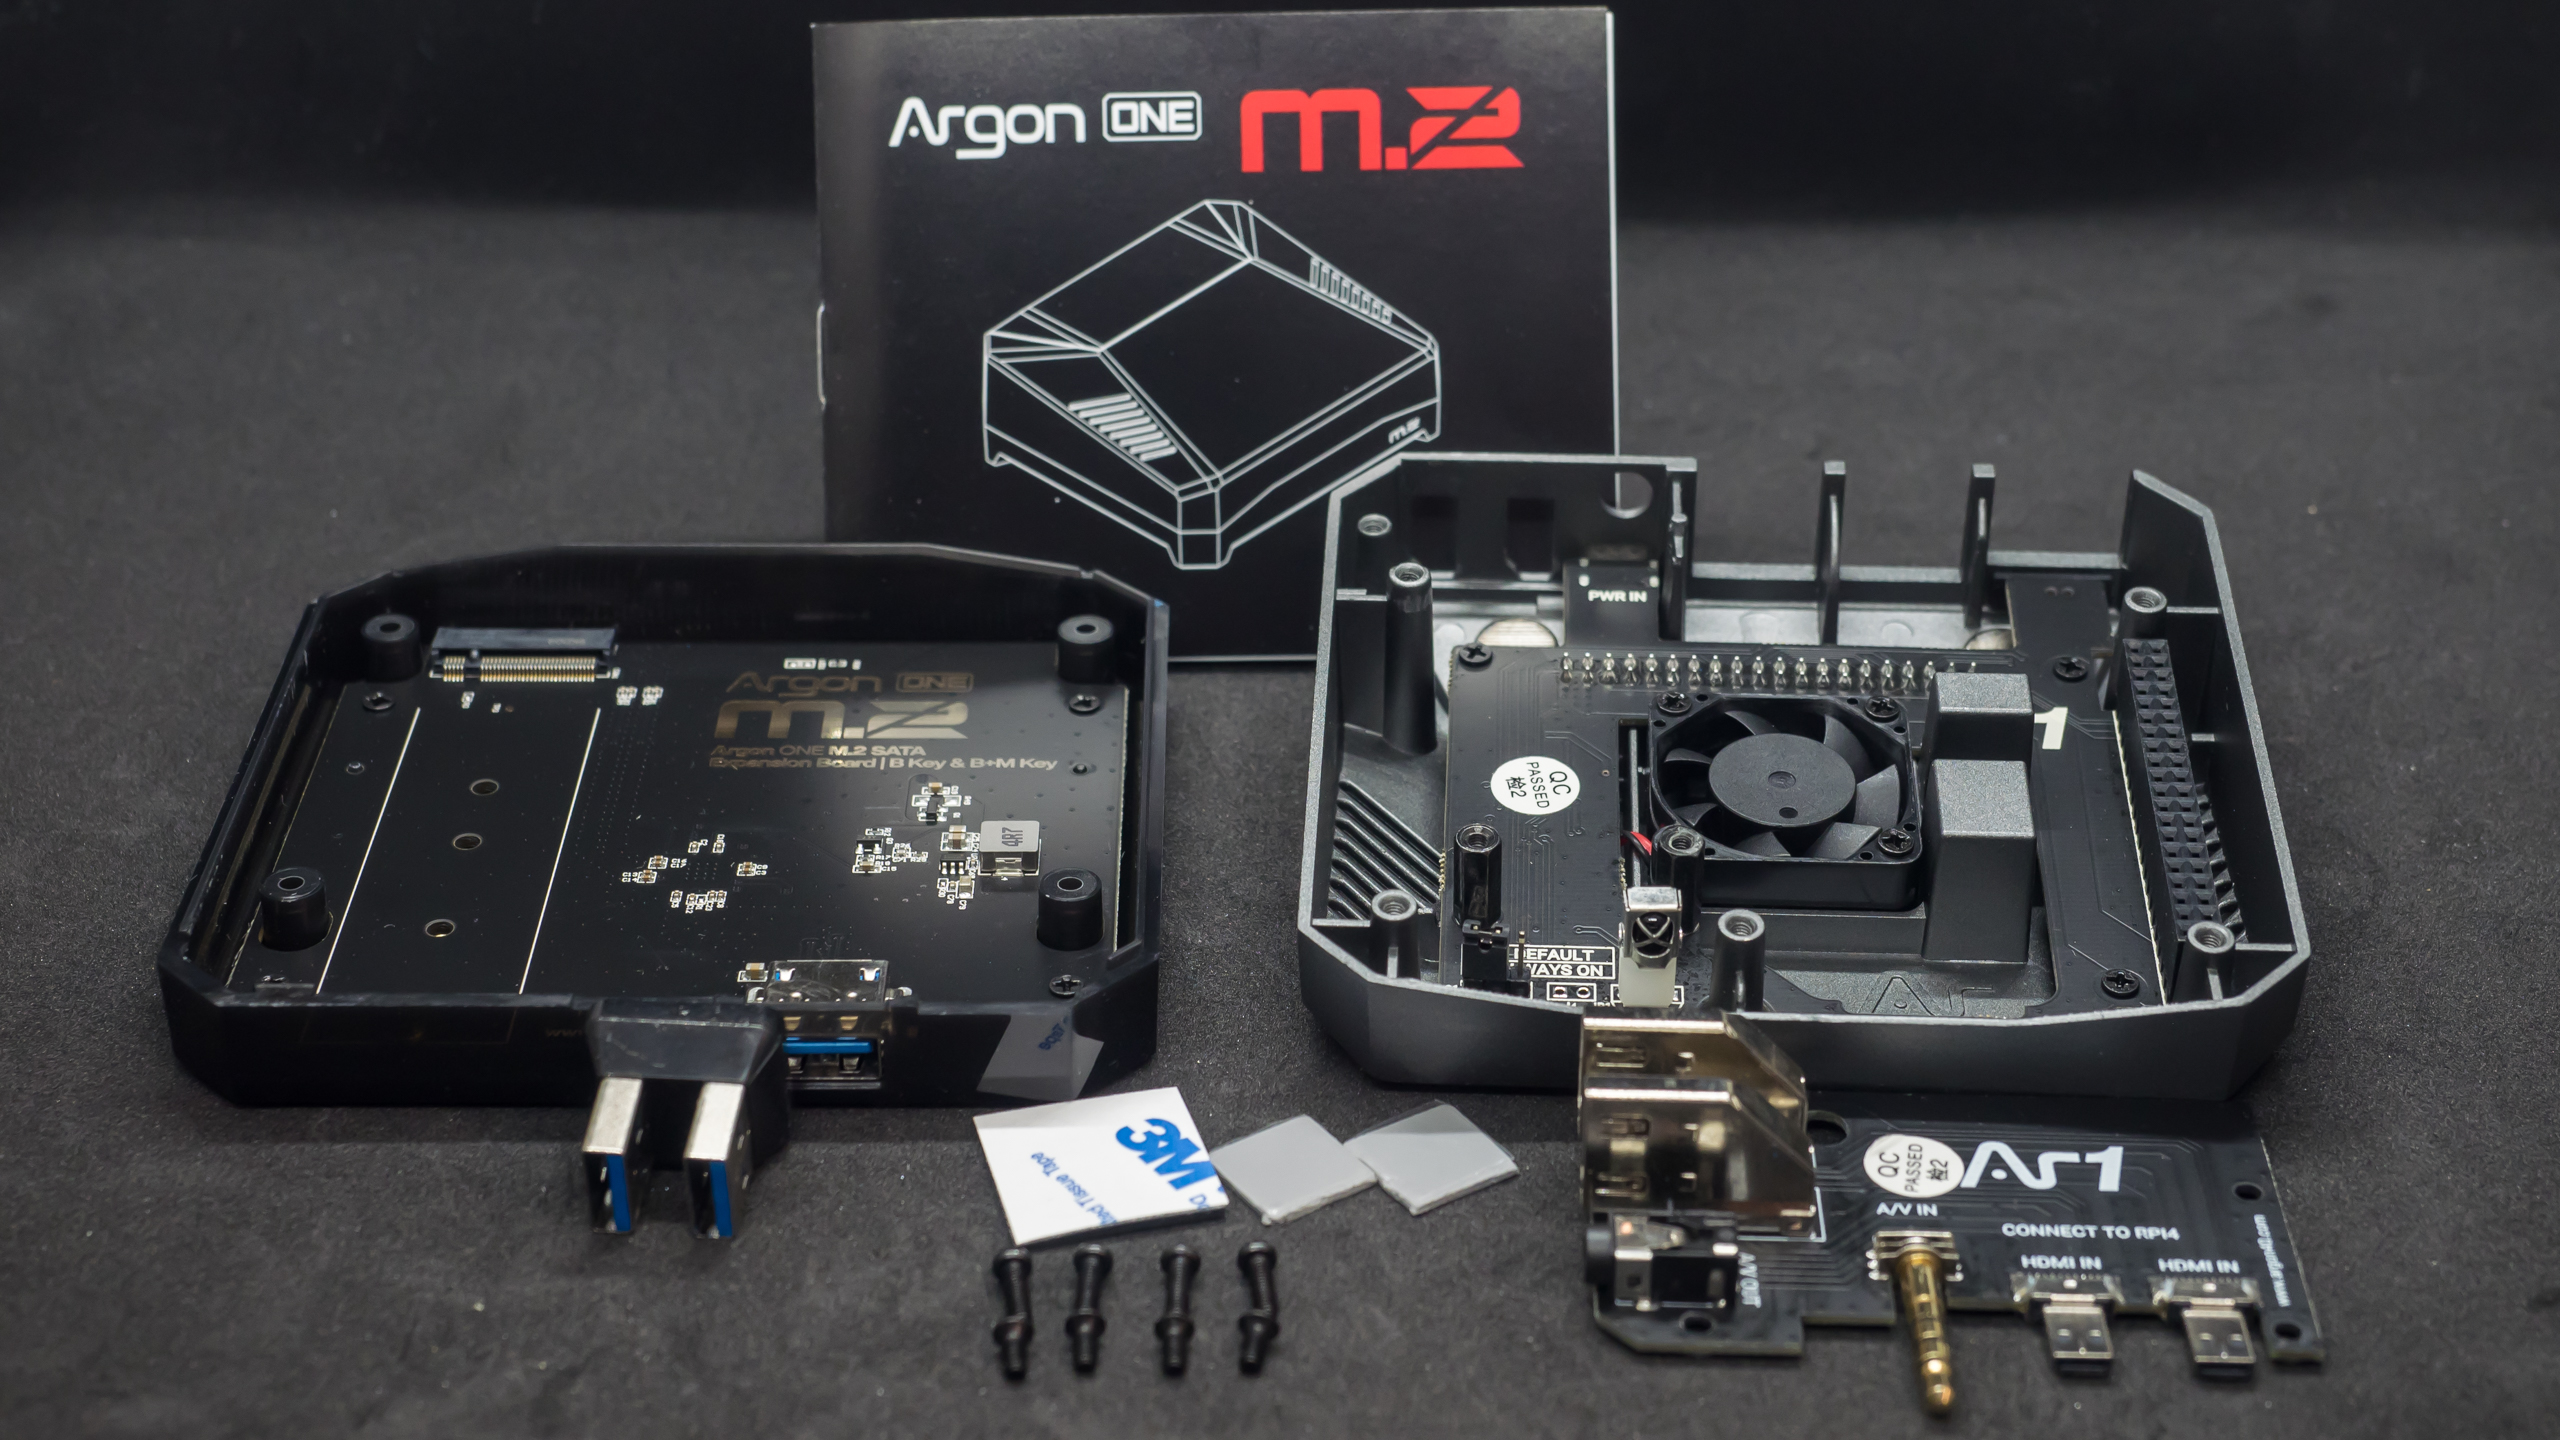
It’s quite expensive, but it has some advantages over other cases such as an extension card with full-sized HDMI ports, metal body that is good in terms of cooling, has programmable IR receiver and fan, and more.
Setting Up USB Boot
Install RaspberryOS on SD card
First of all, we need to install Pi-Imager on our PC. Choose the right version for your OS here.
There are a lot of cool guides on how to install Raspberry Pi OS on your SD card, so you can choose whichever you want. For example, this one seems alright. I would only suggest you download and install the version with UI (not Lite version) because we will need to use its SD Card Copier utility later on.
I also highly recommend configuring your user/password in the wizard for easier setup in the next steps.
Configure Bootloader
After OS installation let’s connect to our Pi through ssh (your user or domain/IP address may be different, you can configure it on installation):
ssh pi@raspberrypi.local
First, we need to make sure that your OS and packages are up to date. Let’s first update the packages:
sudo apt update && sudo apt upgrade
And now we can update the OS itself:
sudo apt full-upgrade
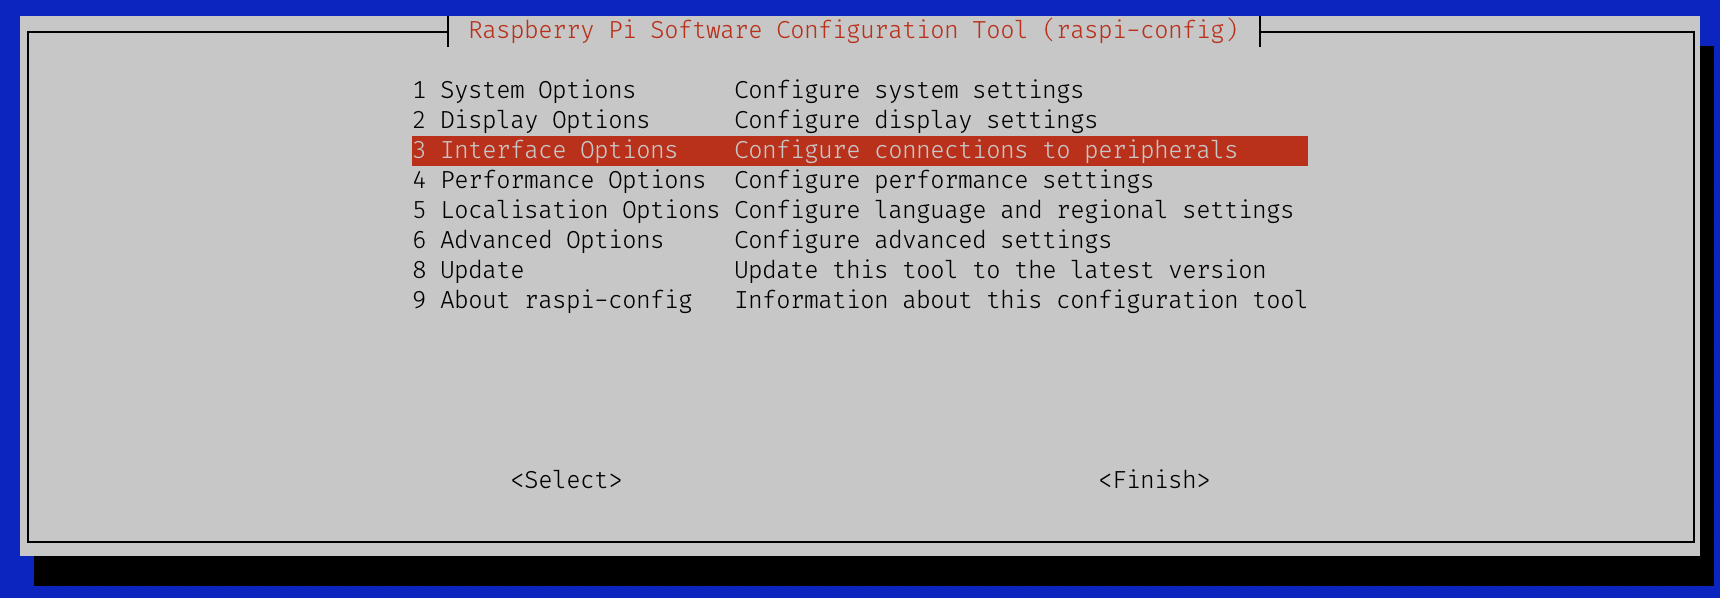
When our software is updated we can go to configuration and setup the boot config:
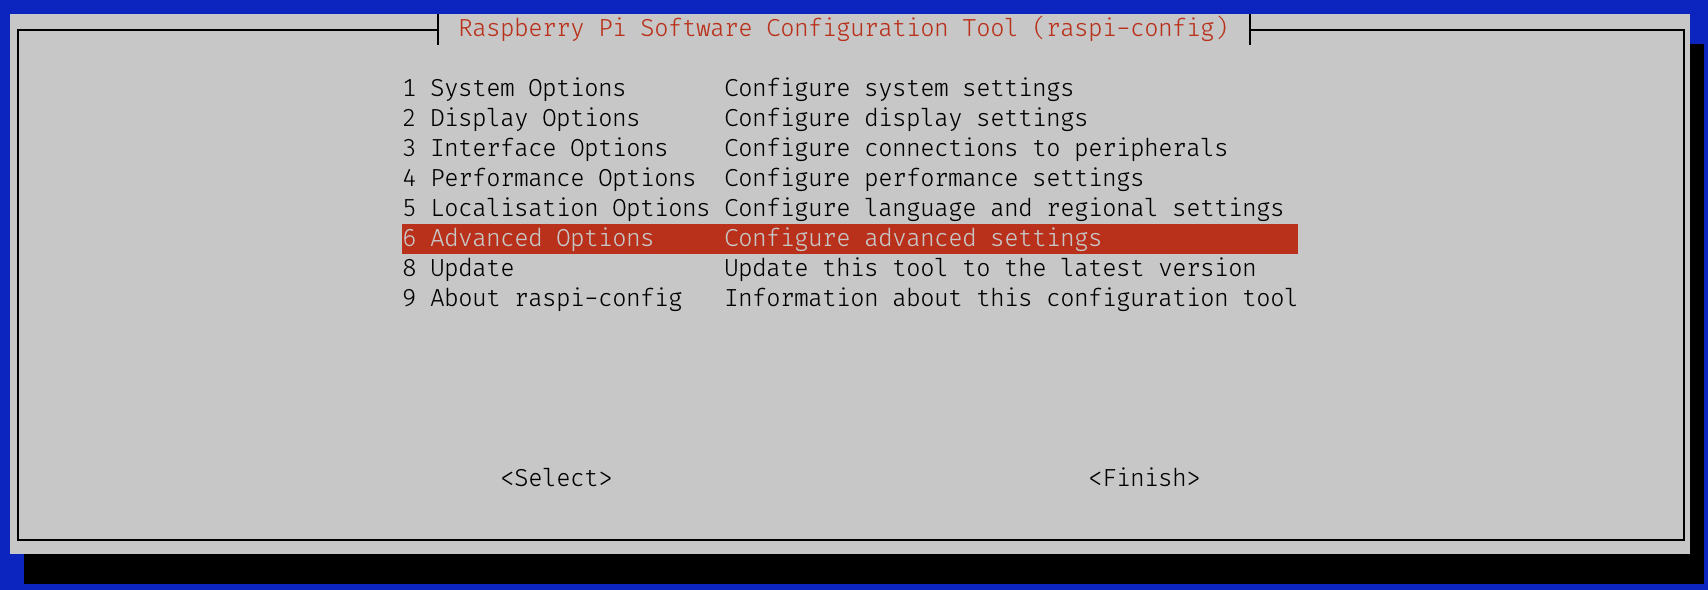
sudo raspi-config
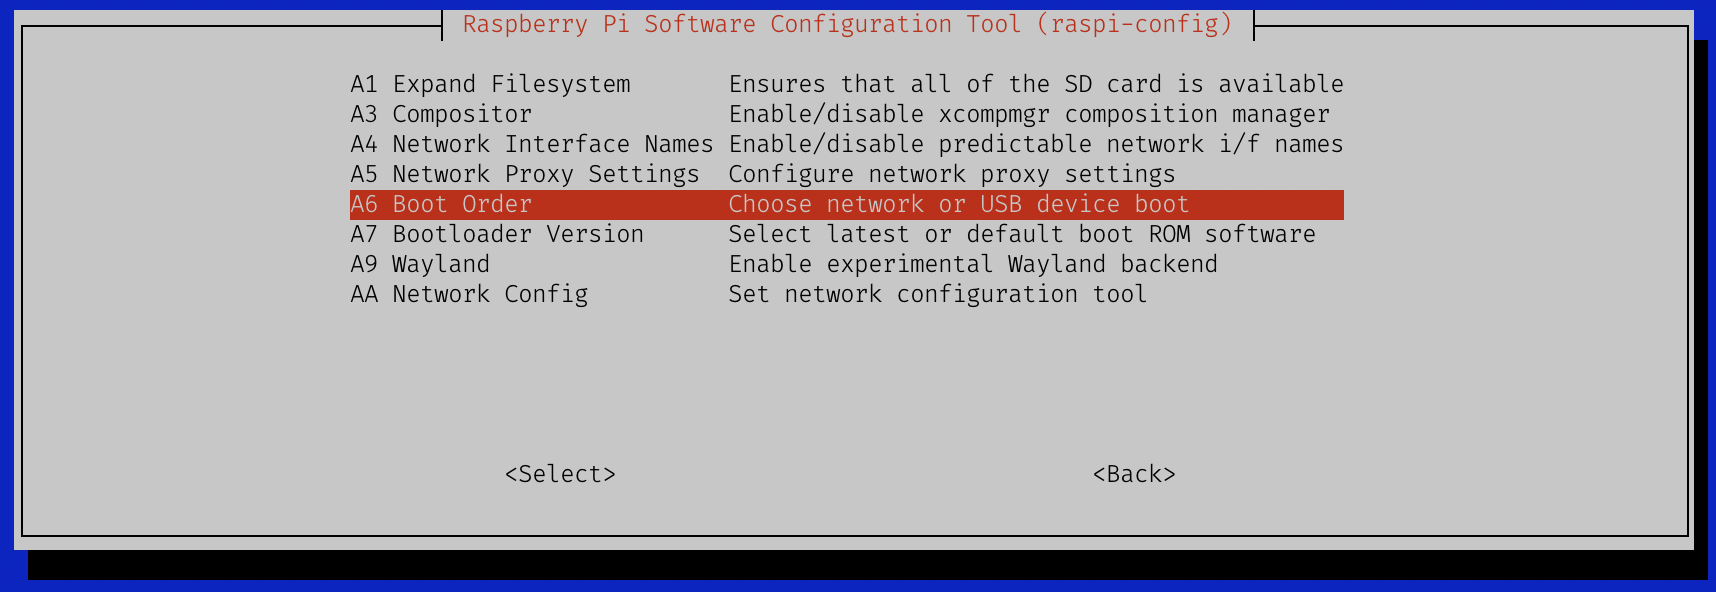
In this menu, we choose Advanced Options -> Boot Order -> USB Boot:
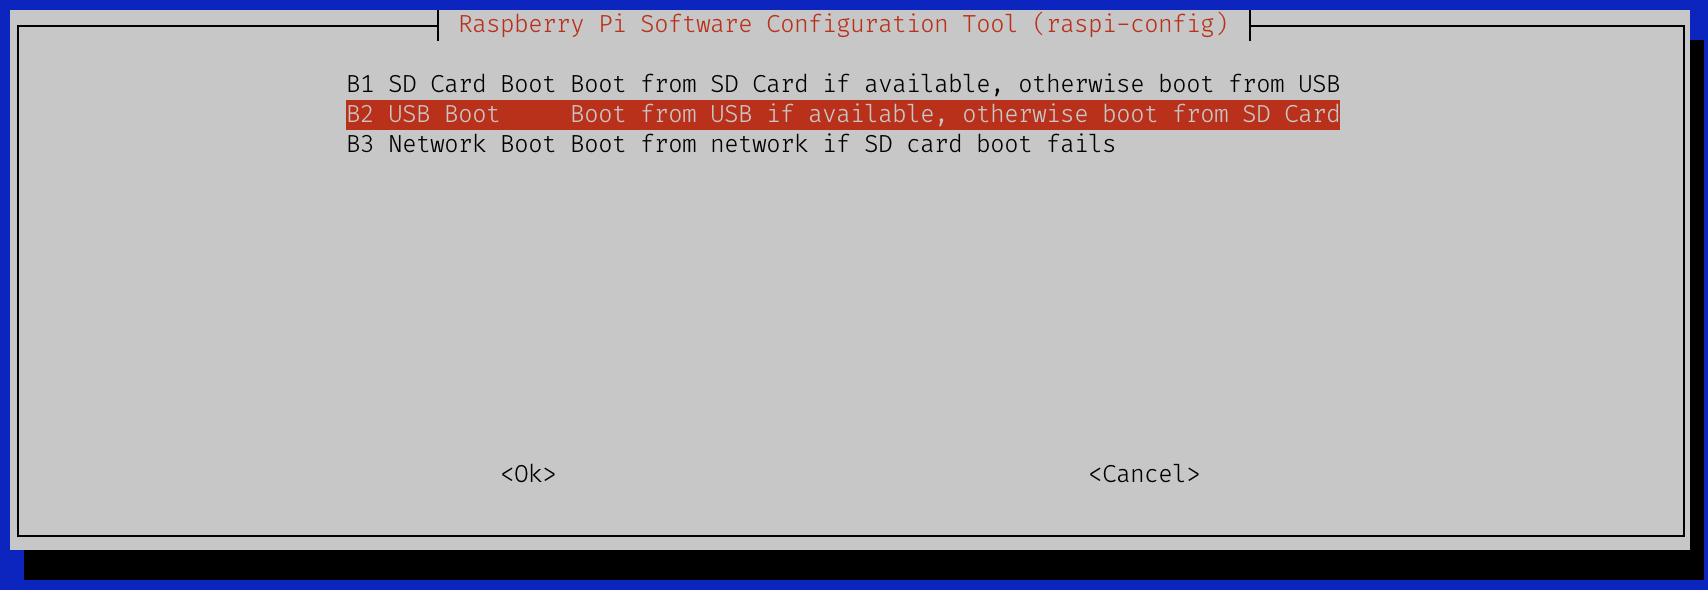
Now you can save and reboot your Raspberry Pi. On the next boot, it will try to do it from USB, and if it’s not available, from the SD card.
Install Raspberry Pi OS on SSD
The last step is to move OS and all the data from the SD card to our SSD. There are different ways to do so, but the easiest one is to connect to Raspberry Pi through VNC and use SD Card Copier utility.
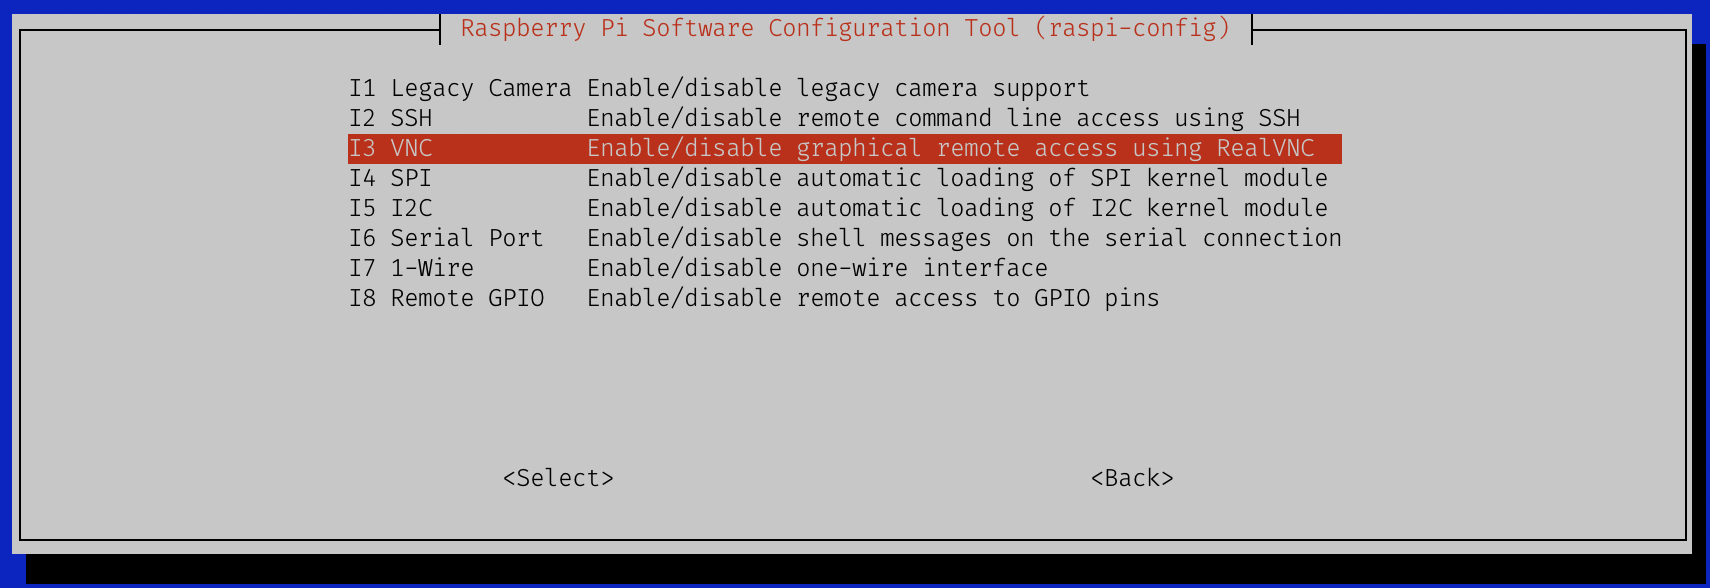
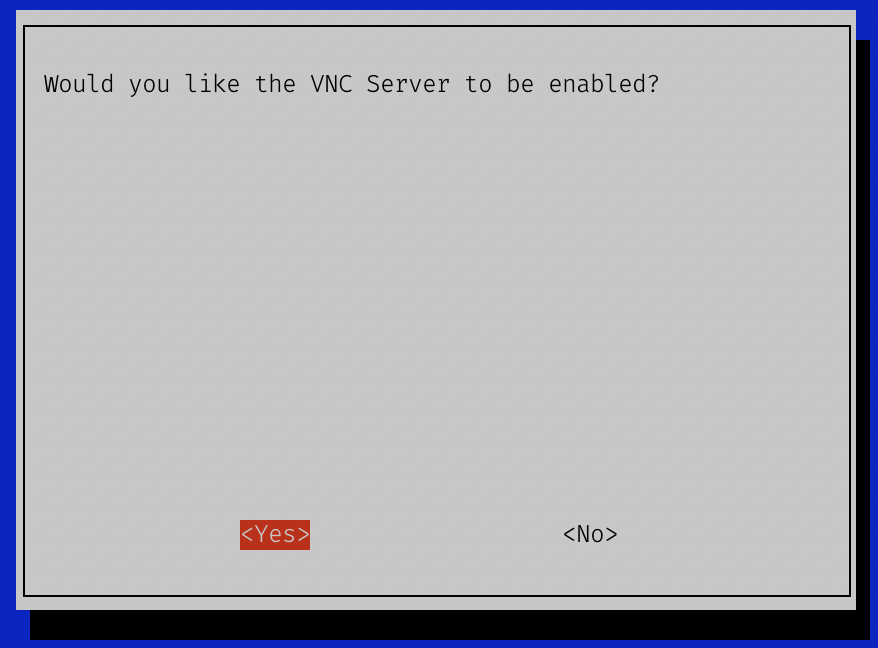
First, we need to enable the VNC server on our Raspberry and we are going to use sudo raspi-config again.
Now let’s install the VNC client on your PC. You can choose whatever you want, VNC Viewer or TigerVNC will be a reasonable choice depending on your PC operating system.
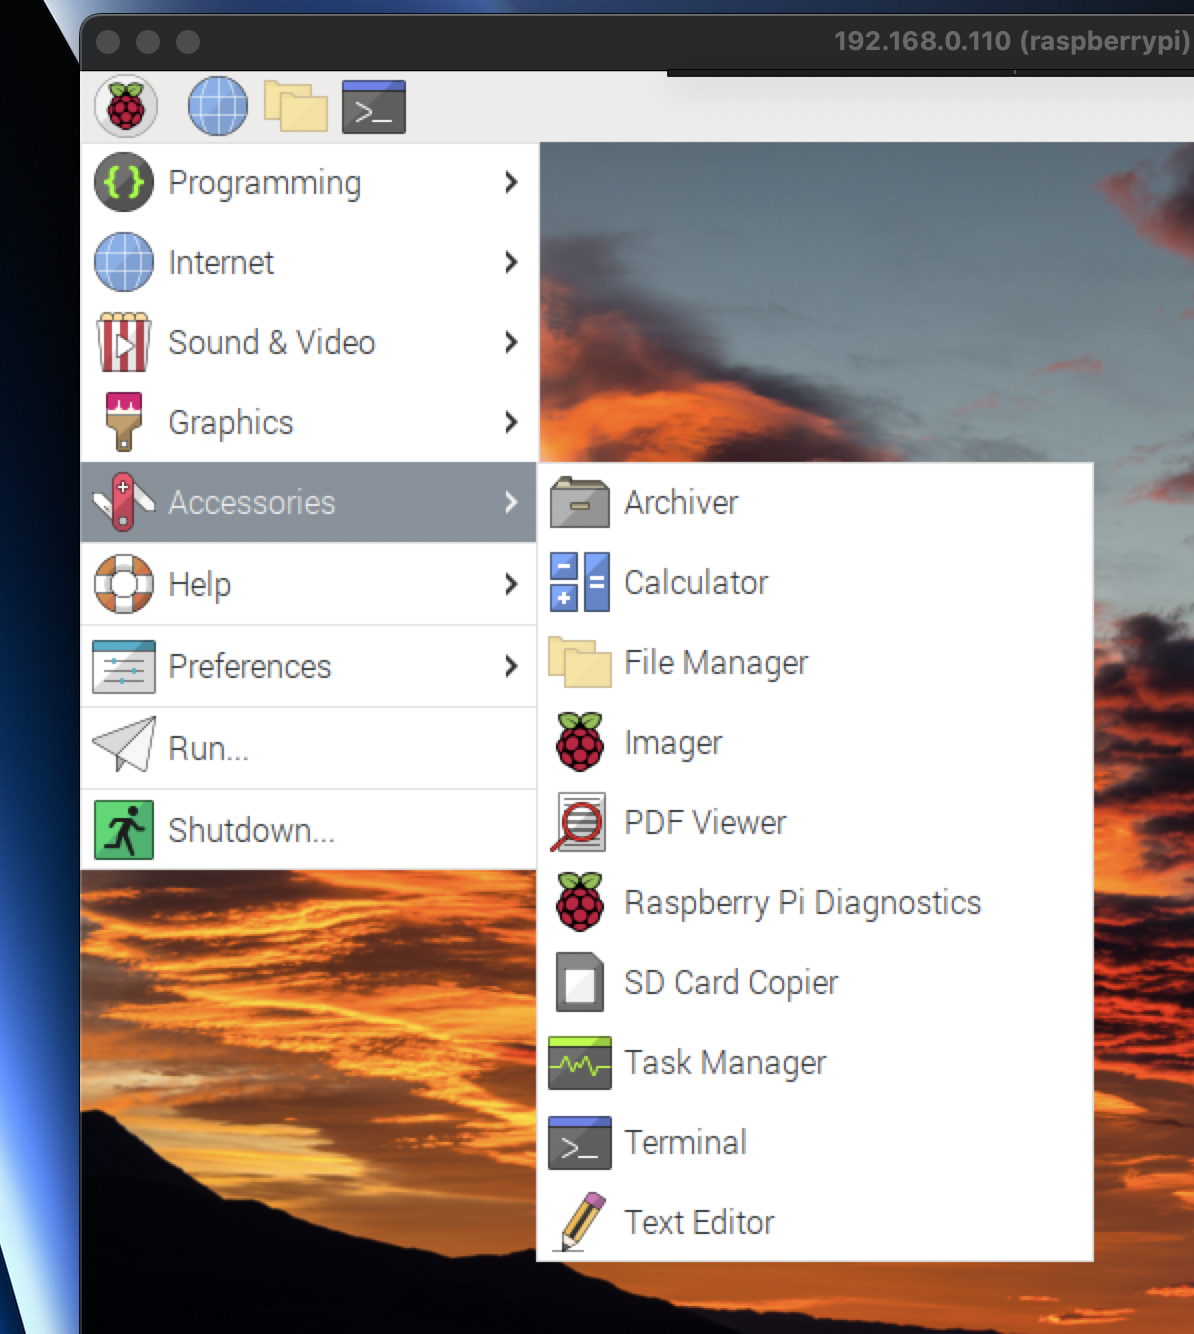
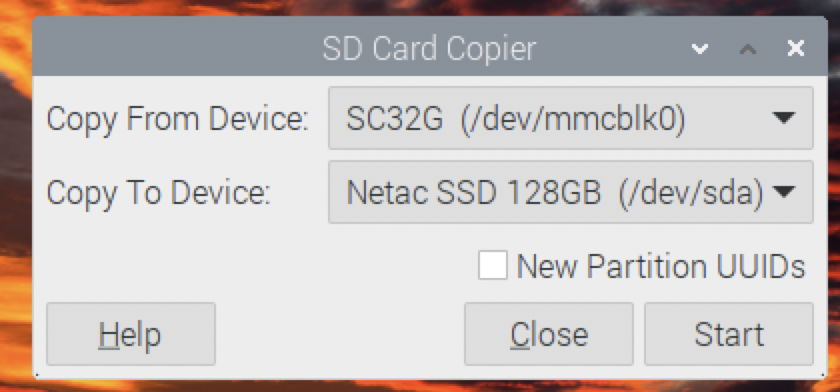
Connect to your Raspberry Pi with the help of VNC Client and choose SD Card Copier, choose Copy From Device and Copy To Device, and press Start.
And now we’re done! Let’s reboot your computer one more time, now you can even eject the SD card from its slot to be sure that your Raspberry is booting from SSD.
Enjoy a more stable computer and operating system!

Leave a comment